Viewing and Extracting Images from Browning TLS Files
What are TLS Files?
Some Browning trail cameras, when set in timelapse mode to capture an image every time interval, store a sequence of captured images as TLS file rather than as individual jpg files. A TLS file is actually a video file, where images are just frames in that video.
Can I play the TLS video file on my computer without using the Browning software?
Yes, as a TLS file is nothing more than a standard .avi file playable by most computers. To play it, just:
- change the filename suffix .TLS to .avi
- double click it to play it in your preferred video player.
Are there limitations in TLS video files?
Yes. I am not sure why Browning decided to store videos as a TLS (actually .avi) file. It seems like a strange decision fraught with problems as described below (these problems are generic, and not Timelapse-specific). The only justification I can see is that Browning perhaps expects its users to use only their software. If you have a choice of not using TLS files (or if you are considering purchasing Browning cameras that do produce those), consider the following.
- If you just use the video review features of Timelapse to examine the images collected as video frames, then you will only have one data row to describe all images in the video. I suspect this is not what you want.
- Video is a lot more problematic than jpgs or images as it does not store the same metadata.
- Many camera traps add metadata that concerns extra information known to the camera (often also displayed in a bar printed as part of the image). A good example is the current temperature. Timelapse and other common systems can extract that data to populate fields. However, that metadata is not included in TLS videos.
- Images include metadata timestamps describing when an image was taken. In contrast, the video timestamp is only for the video as a whole; no timestamp is provided for a particular video frame representing an image. However, as described below, you may be able to calculate what it should be (although errors could be introduced.
- You may be able to use software to extract images from the video (see below) and save them as image files. However, any metadata associated with that video will be lost (including the video timestamp).
- It is difficult to extract images from video with 100% reliability. My solution below expects a new image to appear in the video every specified time interval, where it extracts a video frame and saves it as a jpg. However, if there is any clock drift or if the time is inexact, you may get some duplicates or some missing frames.
- Image recognition systems for camera traps are becoming prevalent. Be aware that most (all?) work on images as input, not video.
- If you are considering buying those cameras, perhaps because they are cheaper than competing products, consider the cost of all these extra steps below in terms of staff having to do this extra work.
Can I analyze TLS video files in Timelapse?
Yes, but there are two different ways to do that. The sections below describe how to do it along with the various limitations.
Method 1. Analyze each video file.
You can view and analyze the TLS files as a video within Timelapse. This is the easiest and faster way, but it has a major limitation. Timelapse considers each video file as a single file rather than as a collection of images. Thus you will have only one set of fields to fill in for each file, which is problematic if you have to enter different data for every image seen in the video file.
- Change the suffix of all your TLS files to .avi. (You may want to use a file renamer to do this if you have many files, or the Rename script below)
- Load them into Timelapse as normal
- You can then view and play each video within Timelapse.
- As mentioned, you will have only one set of fields to fill in for each video file.
Method 2. Extract images from the video file as jpg images.
I have written instructions and provided scripts that will extract images from your TLS files, save them as standard jpg images, and adjust each file's creation date so they match the actual image timestamps (this allows timelapse to record the dates correctly). However, this is a more complex process, where you will have to check (and perhaps change) a few settings in the scripts I provide, and do some manual work. The good news is that others have used this method and it works.
To illustrate, lets assume we have three TLS files: TIMEL0001.TLS, TIMEL0002.TLS and TIMEL0003.TLS
- You can download 3 TLS file to try the steps below on these files. Unzip them and put them in your test folder.
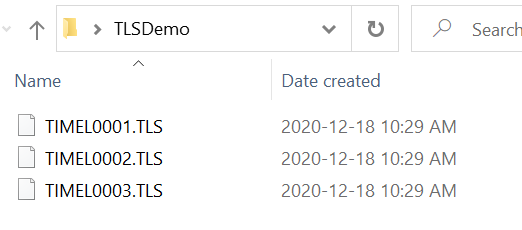
Step 1. Create a folder holding all your TLS files.
- I have named it TLSDemo, but you can call it whatever you want. Here is what the folder looks like:
Step 2. Download the zip file below
- Download TLStoJPGScripts.zip
- It contains three Powershell scripts that you will execute later.
- Extract the three script files from the zip file and save it to the same folder above
- If your computer won't let you download this file (as it contains scripts), contact me and I'll send you a variation of this file.
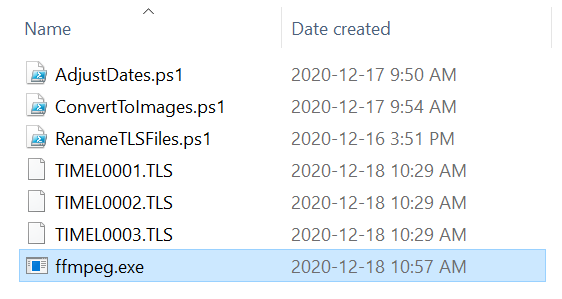
Step 3, Copy (or download) ffmpeg.exe into the folder above
- Your Timelapse executable folder will contain a copy of the ffmpeg.exe program
- Just copy into into the folder above.
- Alternately, you can download a windows version of ffmpeg from the ffmpeg download site
- At this point, your folder should contain the following:
Step 4. Open Powershell as Administrator and set its execution policy
Powershell is a command-line system that lets you type commands into Windows, which in turn lets you run scripts. You have to run them as administrator, as otherwise it won't let you properly run the various scripts you just downloaded. You also have to change its security settings.
- Open FileExplorer on your folder.
- From the File menu at the top of that window, select
- File | Open Windows PowerShell | Open Windows PowerShell As Administrator
- A window should appear. Windows normally doesn’t let you run scripts. To override that, Type the following into the Powershell window:
- Set-ExecutionPolicy Unrestricted
It will ask you to verify this: just type Y for Yes.
Step 5. Rename your TLS files to have a .avi suffix
You will use a script to rename all your TLS files into avi files.
- Type
- .\RenameTLSFiles.ps1
Step 6. Check how many images are recorded per second in your .avi file, and adjust the ConvertToImages.ps1 script if needed
Open a TLS file in a video player, and check to see how many different images are recorded per second. The ones I tried were 5/second. The ffmpeg command (you can see this if you view or edit the ConvertToImages.ps1 file) has an argument '-r 5', which means extract 5 frames for every second. If your video files have more or less than that number of frames, change that argument to match that number of frames.
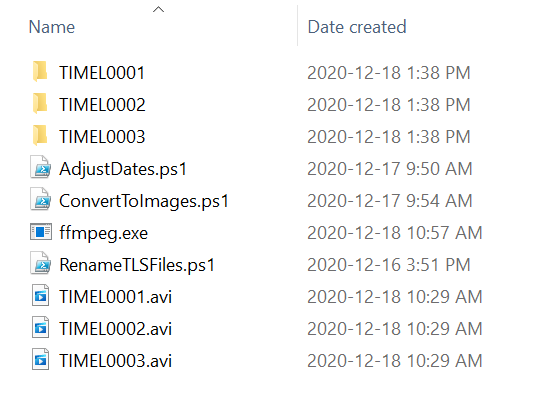
Step 7. Extract the images
- Type
- .\ConvertToImages.ps1
This will create a folder representing each file containing all the extracted images for that file. Its name will be the same as the filename but without the suffix. For example, this is what my main folder now looks like, as well as one of the subfolders:
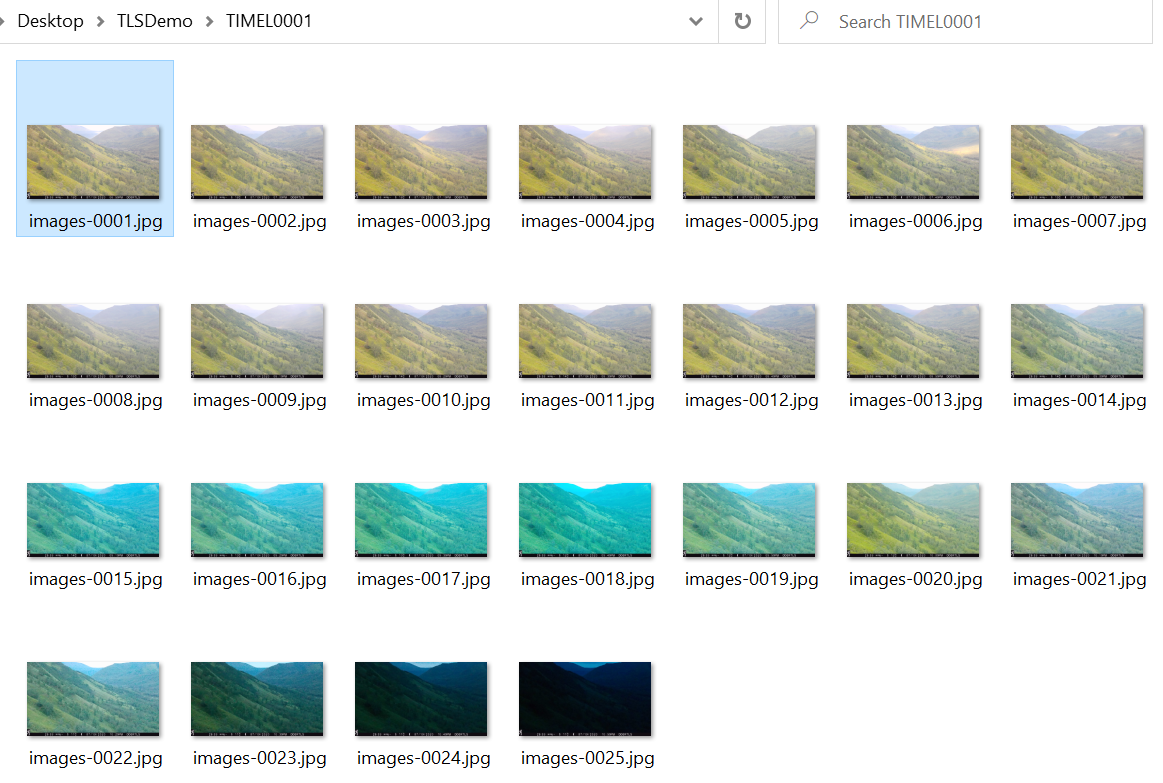
Step 8. Check images in at least one subfolder
Make sure that the extraction extracted one image for every time period, with no duplicates and nothing skipped.
- To check, open the first image in a photoviewer, and then look at the timestamp on successive images
- If there are duplicates or if images have been skipped, you may have to adjust that -r 5 argument above to reflect the correct number of frames per second.
Step 9. (Optional, but likely required). Adjust the Creation/Modifed Date/Time for each file.
Unfortunately, the extracted images record their creation date and time as the date/time they were extracted. This means that when Timelapse reads them in for the first time, the date/time it records for each image will not match the timestamp burnt onto the image. However, another script - with a bit of effort - can correct these dates.
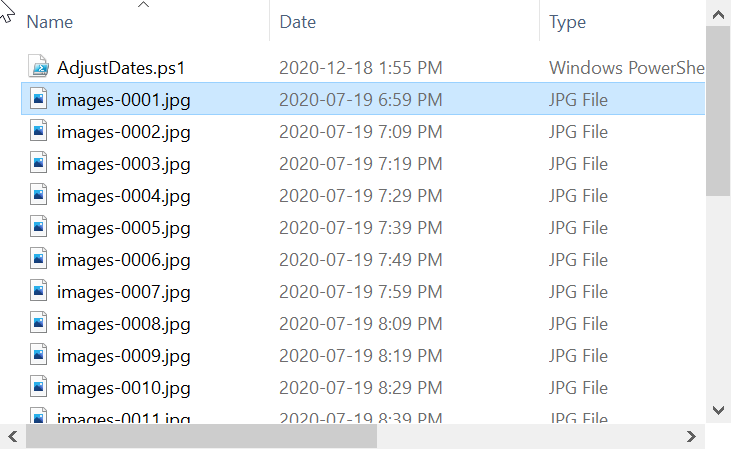
- Go into one of the folders, open the first image, and check to see what the time interval is in minutes between the 1st and 2nd image (this should match how your camera's timelapse mode was set). For example, if the timestamp on the first image is 07/19/2020 06:59PM and the second is 07/19/2020 07:09PM, the time interval is 10 minutes.
- Open AdjustDates.ps1 in an Editor (right-click, Edit). You will se a line that says $minutes=10. Change that to the actual time interval you use.
- Note. If you need a time interval in seconds, then just replace $minues with $seconds, and change the line $date = $date.AddMinutes($minutes) to $date = $date.AddSeconds($seconds)
- Do the following for each folder (yes, that is a bit painful but better than nothing)
- Copy AdjustDates.ps1 into the folder
- Open the first image in a photoviewer so you can see its timestamp
- Open Powershell in that folder
- Type .\AdjustDates
- It will ask you for a date/time in dd/mm/yyyy hh:mm:ss format (24 hour format). Enter the date/time on the first image e.g. 07/19/2020 18:59pm
- Each file's Date Created and Date Modified will be changed. The first image will have the date/time you put in, while the subsequent ones will have its date/time incremented by the specified minutes. You may have to hit F5 to refresh the display to show the current dates.
- Check. A good way to do this is to examine the last image and see if its creation date/time matches the burnt in timestamp. If it doesn't then likely the image extraction method in Step 7 either duplicated or skipped a file, and you will have to redo that step.
- Repeat for the other folder
For example, my first folder using the above now looks like this:
Step 10 Load images into Timelapse as normal.
Load images into Timelapse as you normally would. If your template is in the root folder, it will find all those images in the subfolder and use the revised dates.
Tada!
Credits: thanks to Alicia Woods for supplying and allowing me to use the example TLS files.